


Cheats for a Desk Makeover
There is always that moment of dire distress when we know that we've got all the work in the world piled up for us, we know we're going to be yelled at for missing those deadlines but we cannot seem to get through with finishing it. Do you want to know why? Nope, not because we're lazy (maybe sometimes) or careless but because our desk/workspace/cubicle looks like a shipwreck. In that case, instead of being a sore procrastinator, work up a new look for your boring old desk with the help of just a few tweaks or as I like to call them, DIY cheats.
The first things that need organising are probably those files, letters and notebooks which have been towering relentlessly on your table top. If you've not been using your drawers for slothfulness or simple convenience, so be it, but here is how you could simultaneously make it look good:
Brandish beautiful new file holders made out of the very humble cereal boxes. How? On the wider face of the box, use a marker to draw a diagonal line running from the top left corner to above 3 inches from the bottom on the right. Cut along the line and do the opposite side in the same way. Flip it back to the initial position and trim the thinner side of the box on the right, keeping 3 inches from the bottom. What remains should resemble a file holder. Now, simply glue on fabric or patterned paper in bright and bold colours and you're good to go.
If not file holders, what about bookends? To keep your notebooks snugly standing together, paint bricks in the attire of your favourite book covers. Trust me, camouflage has never looked better!
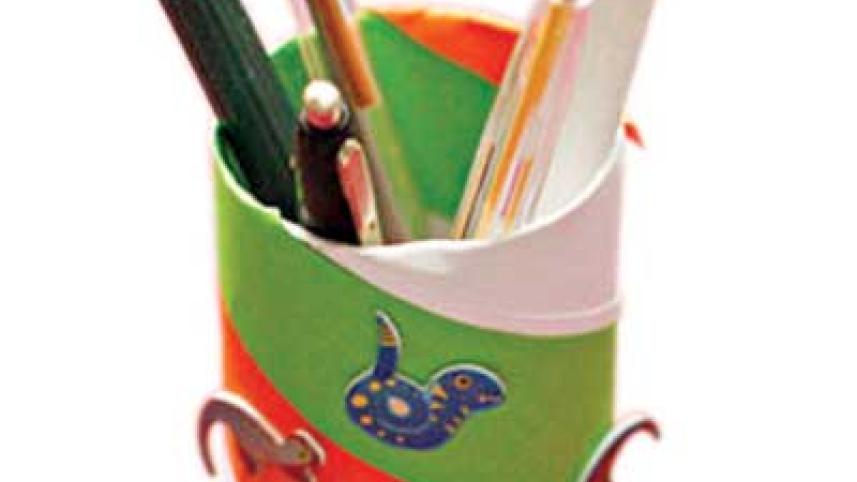
Next you'll discover an array of pens (both functional and completely inkless), pencils and a whole lot of 'bits and pieces', kind of ridiculously important stationeries scattered all over the desk. If you think stuffing them separately is a problem, here's your solution:
Gather up tins and cans of different sizes and an old piece of wooden board. Play around a bit to find the perfect arrangement and use super glue to fix them on the board. Then, it is a simple matter of unleashing spray paint on every inch of the arrangement, using multiple coats if necessary. As the paint dries, use the smaller cans to stow pins and clips and the taller ones for pens. Experiment with different colours or go with classy monochrome gold.
The completely useless tissue rolls can be covered and glued with stacks of old bangles which refuse to fit you anymore. To seal the bottom off, use a circular cardboard cut-out and presto! You've got a pen holder.
As you're almost done moving everything out of your way to getting a clean workstation, you might as well make a few new additions to help you get more organised:
Use a bit of spray paint to revive any old photo frame and place a white paper inside the frame, placing the glass over it. Then simply use a white board marker to write daily memos on your brand new dry erase board perfect for the desk.
If you're more of a chalkboard person, just take the glass of the frame and coat it with chalkboard paint which you can easily stir up with 2/3rd cup black paint and 1/3rd cup baking soda. Use sandpaper for finishing.
If you have some space above your desk, wrap some boldly patterned fabric around some thermocol and secure with duct tape at the back. Now you've got a bulletin board which you can adorn with a juxtaposition of photos, inspirational quotes and daily memos. Your desk will never be the same again (that's a good thing).
Labiba Mustabina studies biochemistry and biotechnology at North South University. A tree hugger, she also claims to be a closet artist. You can reach her at [email protected].
 For all latest news, follow The Daily Star's Google News channel.


Comments